Skip to content

How to Make Plain Yogurt?

Making plain yogurt at home is simpler than it first appears. You need milk, live yogurt cultures, gentle heat, and patience. The process turns warm milk into a smooth, tangy food with a clean flavor.

Food microbiologist Robert Hutkins, author of The Yogurt Story, describes yogurt as “a living food.” This idea matters because beneficial bacteria transform lactose into lactic acid. That change creates yogurt’s familiar tartness and thicker texture. It also explains why temperature control is important.

Begin with fresh milk and a clean saucepan. Heat the milk carefully, without letting it scorch. A thermometer helps, although careful observation can work. Cool the milk until it feels warm, not hot. Then stir in a small amount of plain yogurt containing live cultures. A rough mixture can still succeed.

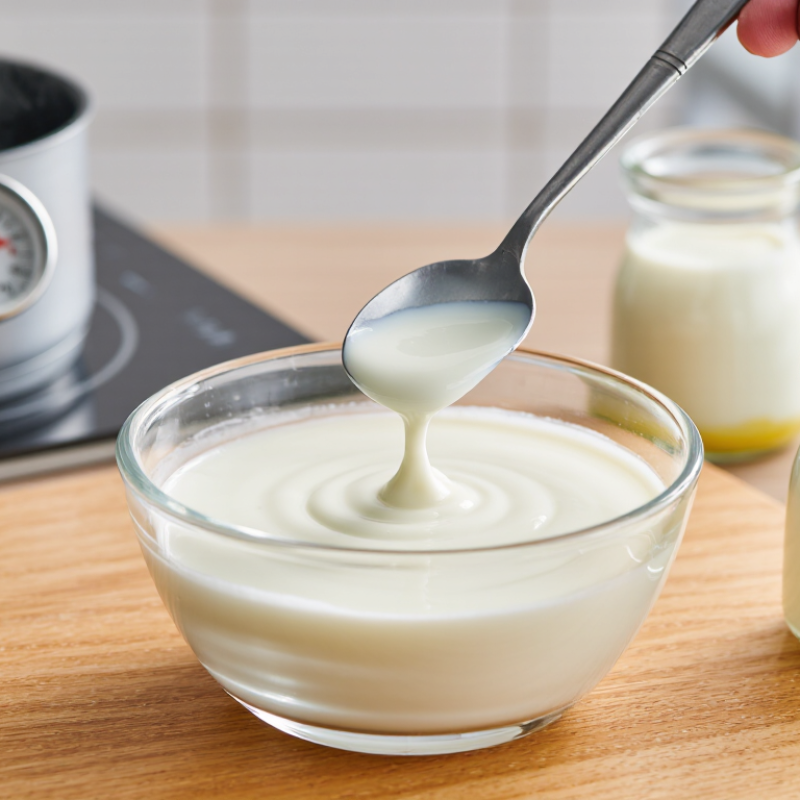
Keep the covered container warm for several hours. The yogurt should look set, with a gentle wobble in the center. Longer fermentation usually creates a sharper flavor. It may also produce a thicker texture, but not always. Homemade results can vary with milk, temperature, and starter strength.

That uncertainty is part of the learning. My first batch might be thinner than expected. It might even separate slightly. That does not automatically mean failure. Stir it, chill it, and taste carefully. Straining can create a denser style, while refrigeration slows further fermentation.

This guide explains each stage clearly, from preparing the milk to storing the finished plain yogurt safely. With clean tools and reliable temperatures, an ordinary kitchen can produce fresh yogurt with remarkable consistency. Almost.
How to Make Plain Yogurt?

Choosing Milk and Starter Culture

How to Make Plain Yogurt?

Choosing Milk and Starter Culture

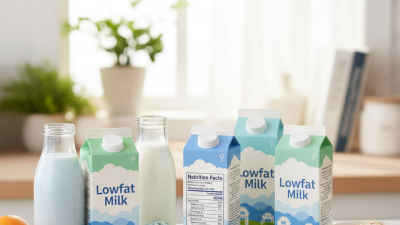
Milk determines yogurt’s body, flavor, and reliability. Use fresh pasteurized whole milk for a creamy, stable texture. Low-fat milk works, but the yogurt may feel thinner. USDA FoodData Central lists plain whole-milk yogurt at about 61 calories and 121 milligrams of calcium per 100 grams. The milk’s nutrients still matter after fermentation.

Use fresh milk.

For stronger texture, heat the milk to 82–85°C for five minutes. This helps whey proteins bond and hold water. Cool it to 43–45°C before adding the starter. A starter should contain live yogurt cultures, especially Streptococcus thermophilus and Lactobacillus delbrueckii subsp. bulgaricus. These are the defining cultures described in the Codex Alimentarius Standard for Fermented Milks, CXS 243-2003. Add about two tablespoons of plain yogurt per liter of milk. Avoid starters with sugar, fruit, or thickening powders.

Temperature control is crucial. Keep the mixture near 43°C for six to ten hours. A clean glass jar and a warm oven with the heat turned off can work. Check the set gently; shaking the jar too early can create a loose texture. My first batch became sharply sour because I left it overnight. I expected more firmness, but fermentation had simply continued. Taste it earlier next time. Refrigeration slows the cultures, though the texture may improve after several hours. USDA data can describe nutrients, but it cannot predict every homemade batch. Milk age, culture strength, and room temperature still introduce uncertainty.

Preparing the Milk for Yogurt Making

How to Make Plain Yogurt?

Preparing the Milk for Yogurt Making

Preparing the milk carefully shapes the yogurt’s final texture. I use fresh pasteurized milk and a clean, heavy-bottomed saucepan. Whole milk usually produces a richer, creamier yogurt, while lower-fat milk may set more softly. Pour the milk into the pan and warm it gradually. Stir often, especially along the bottom and corners. Heat it to about 82–85°C and hold that temperature for five to ten minutes. This step changes the milk proteins, helping the yogurt become thicker later. Do not let the milk scorch.

Keep the heat gentle.

A kitchen thermometer makes this process more reliable than guessing from steam. After heating, transfer the pan to a cool water bath and stir slowly. Wait until the milk reaches approximately 43–46°C before adding the starter culture. Hotter milk can damage the helpful bacteria, while cooler milk may ferment slowly. I once rushed this cooling step, and the finished yogurt turned thin and slightly grainy. It was edible, but not my best batch. That mistake taught me to check the temperature twice. Clean utensils also matter because unwanted microbes can affect flavor and safety. If a skin forms on the surface, remove it or whisk it back in, depending on the texture you prefer.

How to Make Plain Yogurt? - Preparing the Milk for Yogurt Making
Step Preparation Stage Recommended Condition What to Do Purpose
1 Choose the milk Pasteurized dairy milk; whole or low-fat Use fresh milk with a clean, mild smell. Whole milk generally produces a creamier yogurt, while low-fat milk produces a lighter texture. Milk composition affects the final body, creaminess, and mouthfeel.
2 Measure the milk 1 liter of milk Pour the milk into a clean, heavy-bottomed saucepan. Leave enough space to stir without splashing. A measured quantity makes the heating and starter addition more consistent.
3 Heat the milk 82–85°C (180–185°F) Heat slowly while stirring occasionally. Avoid a vigorous boil, which can cause scorching and excessive evaporation. Heating denatures whey proteins, helping the finished yogurt form a firmer gel and reducing whey separation.
4 Hold the temperature 5–10 minutes Keep the milk near the target temperature, stirring gently from time to time and scraping the bottom of the pan. This provides additional time for protein changes that improve yogurt structure.
5 Cool the milk 43–46°C (110–115°F) Remove the saucepan from the heat and cool the milk. Stir occasionally for even cooling. The milk must be warm enough for the cultures to grow but not hot enough to damage them.
6 Check the temperature About 45°C (113°F) Use a clean food thermometer before adding the starter. If the milk feels hot but not scalding, verify the temperature rather than relying only on touch. Accurate temperature control supports reliable fermentation.
7 Add the yogurt starter About 2 tablespoons of plain yogurt per 1 liter of milk Whisk the starter with a small amount of warm milk until smooth, then mix it into the remaining milk. Use plain yogurt containing live cultures and no added flavors or sweeteners. Live yogurt cultures convert lactose into lactic acid, creating yogurt’s tang and texture.
8 Transfer for incubation Approximately 43–45°C (109–113°F) Pour the inoculated milk into clean containers and cover them. Keep the containers warm and undisturbed. A stable warm environment helps the cultures ferment the milk evenly.
9 Incubate 4–8 hours Leave the containers undisturbed until the yogurt is set and has a lightly tangy aroma. Longer incubation generally produces a more tart yogurt. Fermentation time controls acidity and firmness.
10 Chill and store Refrigerate at 4°C (40°F) or below Refrigerate the yogurt for at least 2 hours before serving. Keep it covered and use clean utensils when serving. Chilling stops most further fermentation, improves firmness, and supports safe storage.
Safety note: Use clean equipment, avoid cross-contamination, and refrigerate the finished yogurt promptly. Discard yogurt that develops an unusual odor, color, mold, or texture.

Cooling the Milk to the Right Temperature

How to Make Plain Yogurt?

Cooling the milk correctly is the quiet control point in homemade plain yogurt. After heating milk to about 82–85°C, hold it briefly, then cool it to 43–46°C before adding the starter culture. A clean kitchen thermometer matters more than guessing.

At 50°C, the heat may weaken the bacteria. Below 40°C, fermentation can become slow and uneven. The milk should feel warm, not hot, on a clean fingertip. Still, fingers are unreliable. I have learned that a thermometer prevents many disappointing batches.

The National Center for Home Food Preservation recommends cooling heated milk to approximately 43°C before inoculation. This range supports common yogurt cultures without shocking them.

Pouring the milk between sanitized containers can speed cooling, but it also increases contamination risk. A covered ice-water bath is safer. Avoid placing an uncovered pot near raw foods. After incubation, chill the yogurt promptly.

The FDA Food Code 2022 uses a cooling benchmark of 57°C to 21°C within two hours, then to 5°C within six hours. Yogurt production is not identical to every food-service process, but the principle is useful: warm food should not linger.

Fermentation times vary with culture strength, milk solids, and room temperature. Eight hours may work; it is not a promise. A slightly sharp smell can be normal, while unusual colors, gas, or spoilage odors mean discard it. Temperature records feel excessive. They are not.

Adding the Culture and Incubating the Mixture

How to Make Plain Yogurt?

Adding the Culture and Incubating the Mixture

Warm pasteurized milk gently to about 85°C, then cool it to 43°C. This step improves the yogurt’s texture and reduces unwanted microbes. Use a clean thermometer, because guessing the temperature can produce disappointing results.

Add a small amount of plain yogurt containing live cultures. Stir it into the warm milk with a sanitized spoon. Mix slowly and evenly. Too much starter may make the yogurt sour or thin. My first batch became lumpy because I added the culture while the milk was still too hot. I had not checked the temperature carefully enough.

Keep the mixture between 40°C and 43°C for six to twelve hours. A covered container inside a turned-off oven can provide gentle warmth. Do not disturb it during incubation. The yogurt is ready when it looks set and moves like soft custard. Longer incubation usually creates a sharper flavor. Afterward, refrigerate it for several hours before eating.

Tips: Use fresh milk and clean equipment. Avoid flavored yogurt as a starter. If the mixture stays liquid, check the culture’s freshness and the incubation temperature. Results may vary with room temperature, milk type, and incubation time. Record what you changed. That makes the next batch easier to improve.

Chilling and Storing the Finished Plain Yogurt

Once plain yogurt has set, cool it promptly. Move the container to a refrigerator kept at 4°C or below. Do not leave warm yogurt on the counter for longer than two hours. In very hot conditions, shorten that limit to one hour. Rapid chilling helps control unwanted bacterial growth and preserves the yogurt’s clean, mild flavor.

Use a clean, tightly covered container. Glass or food-safe plastic works well. Keep the yogurt on a middle shelf, where temperatures change less often. Avoid storing it in the refrigerator door. Add the date before chilling. Homemade plain yogurt is usually best within seven days, although careful handling may extend its quality slightly. Texture can become firmer overnight.

Keep it cold.

A small layer of whey on top is normal. Stir it back in, or pour it off for thicker yogurt. However, discard the batch if it develops mold, unusual colors, a rotten smell, or a fizzy taste. Never taste food that looks suspicious. I once stored yogurt beside uncovered onions, and the yogurt absorbed the odor. That mistake taught me to leave space around delicate foods. Freezing is possible, but thawed yogurt often turns grainy and watery. Chilling remains the better choice for a smooth spoonful.

How to Make Plain Yogurt? — Chilling and Storing the Finished Plain Yogurt

Refrigerate finished plain yogurt at or below 4°C (40°F) as soon as possible. It can generally be kept refrigerated for about 7–14 days. Do not leave yogurt at room temperature for more than 2 hours, or more than 1 hour when the temperature is above 32°C (90°F).